One of the most fastest way to get your own development environment ready for Business Central, is to install Docker and to download the Docker images Microsoft have made for you.
Warning: Microsoft is doing changes about Docker images availability and has announced some of the Docker images won’t be available from January 2021 upfront. As soon I have some more information about it, I will update this post.
So let’s see what are the steps you need to follow to get your Business Central development environment ready in minutes.
Pre-requisites
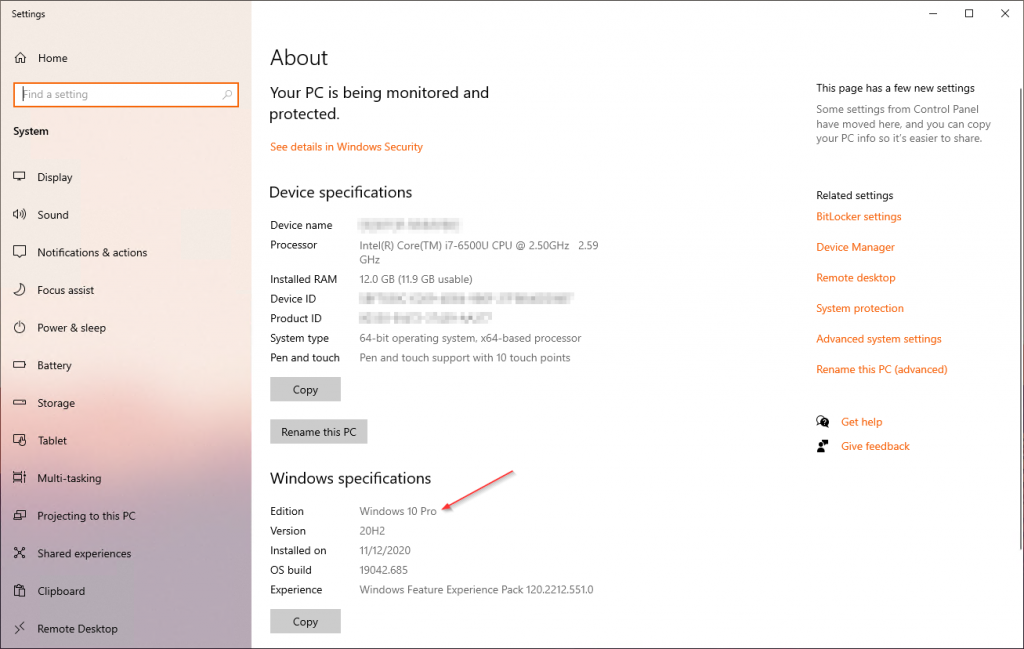
The first you need to have in mind is what PC are you going to use to host Docker. It has to have a OS complatible with Docker. For example, do not try to install Docker on Windows 10 Home because in order to load Windows containers, you must have at least Windows 10 Pro.
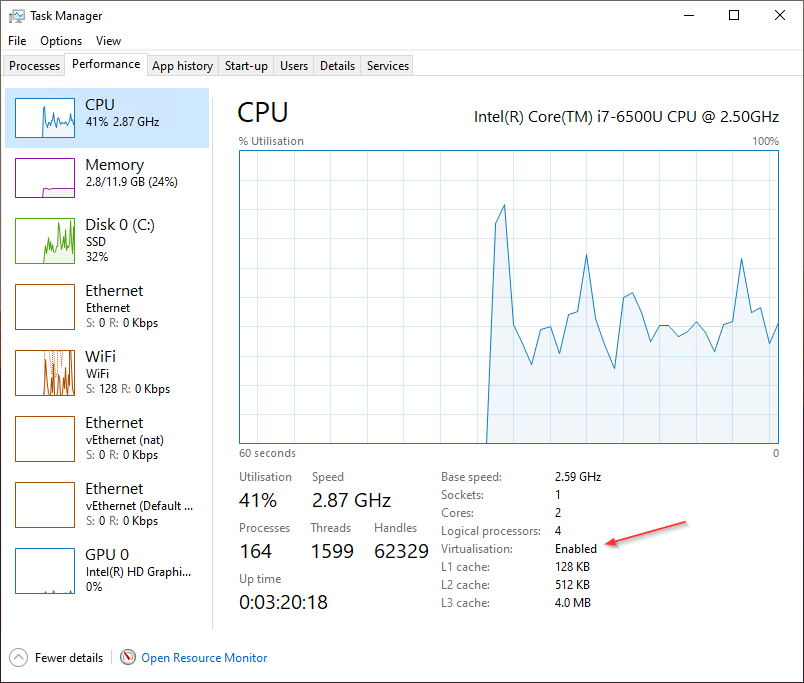
You also need to have a virtualisation compatible CPU. You can easily check this on the Windows’ task manager:
Once you have checked these 2 pre-requisites, you can start with the next steps:
Step 1: Download and install Docker
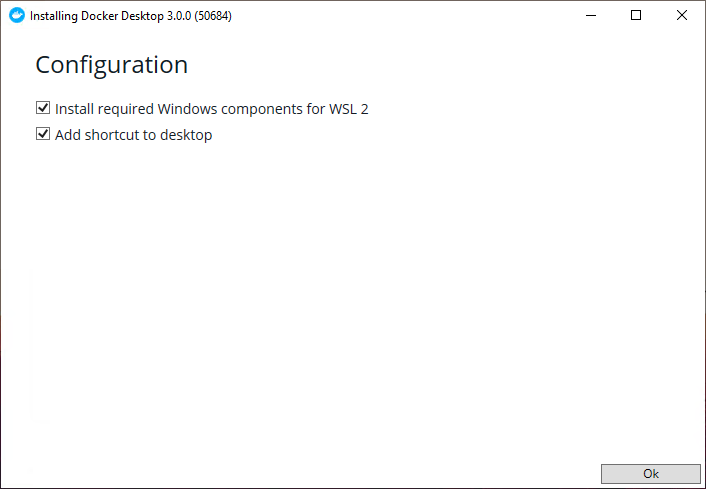
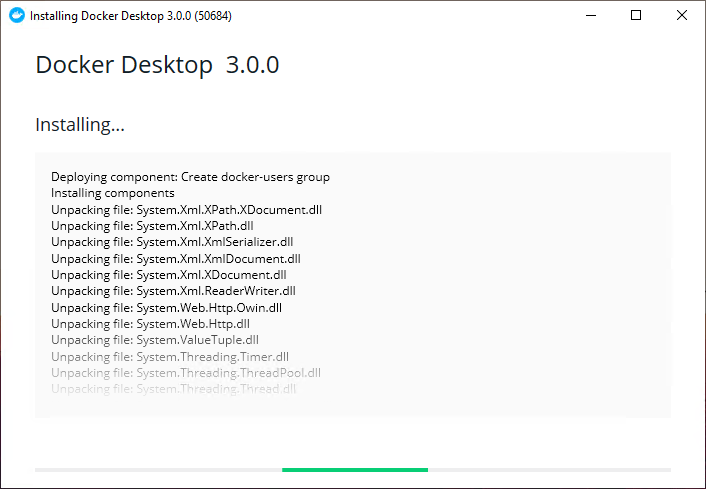
Go to https://www.docker.com/products/docker-desktop and download Docker for Windows. After that, follow the steps of a classic installation:
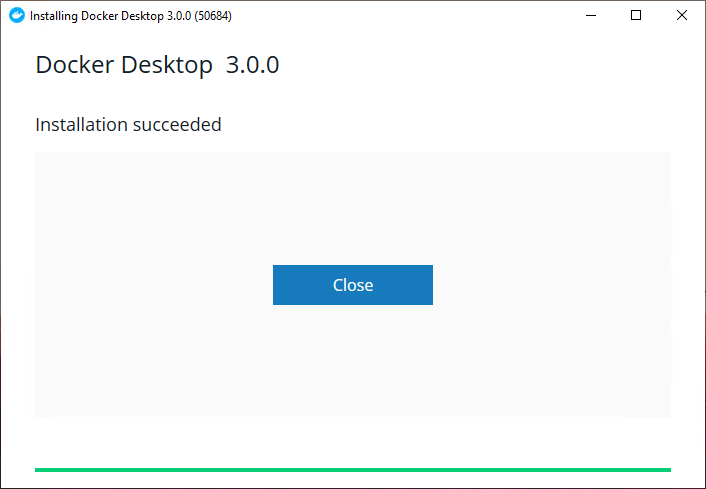
Step 2: Start Docker
Docker gets opened automatically when you click on the Docker Desktop icon placed on you Windows Desktop. However, by default, it starts on Linux-Mode, meaning this is able to receive Linux containers only. You need to use the next option to let Docker know you want to use Windows containers:
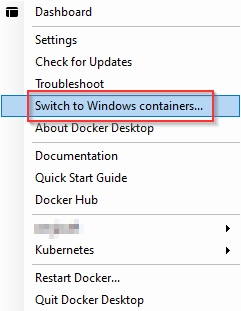
Step 3: Install the Business Central container
Open the Windows PowerShell in admin mode and run the next command:
Set-ExecutionPolicy RemoteSigned
You can bypass the previous step if you want to, but if you encounter an error on the next step, most likely that comes because you need to change execution policies, and that’s what exactly makes this last command.
OK! Then, execute the next command:
Import-Module BcContainerHelper
Finally, run the next command:
New-BCContainer -accept_eula -accept_outdated -updatehosts -imageName 'mcr.microsoft.com/businesscentral/onprem' -containerName 'BCDEV' -includeAL -auth 'UserPassword' -PublishPorts 7046,7047,7048,7049,80If you want to customize you setup, just replace BCDEV by your prefered instance name. You can also choose to do not publish any port number if you do not plan to use BC from outside the PC where Docker is installed.
Once you run the last command, a new dialog will open asking for a user and password. That user and password is going to e the one used to access Business Central once it is installed ?.
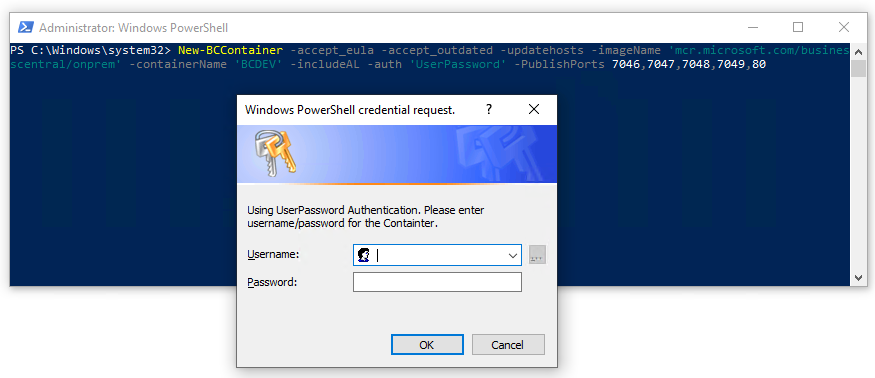
What you’re going to see next is how Docker will connect to mcr.microsoft.com and will downalod the Docker image. At the same time it will download any other elements it needs to work fine. The best of all this, is that everything will happen within Docker. That means nothing will be installed in your host PC.
Give it some time. This process can take some mintes. You’ll know everything when fine once you see this:
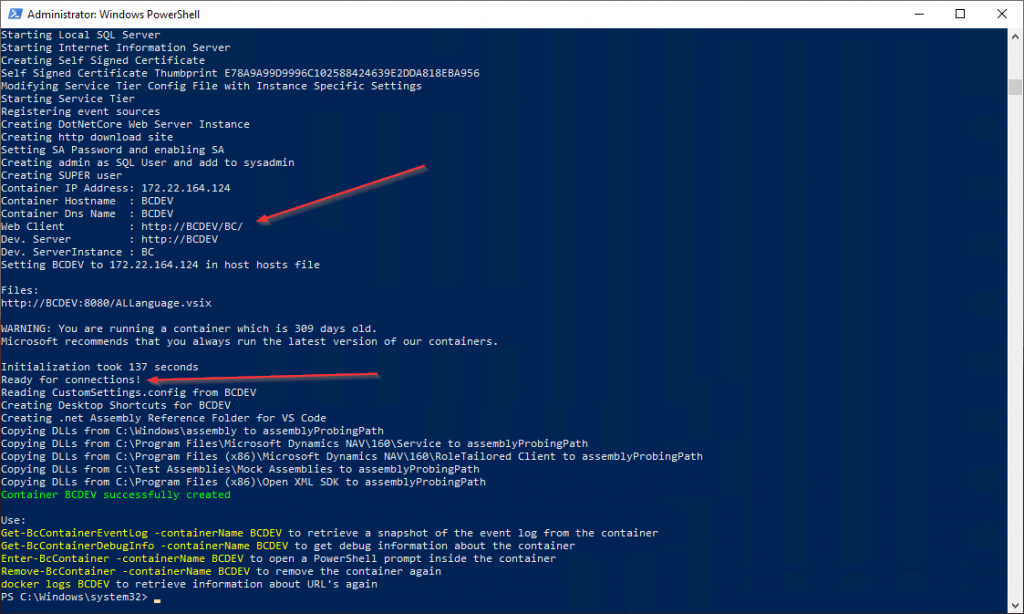
Step 4: Enjoy ?
When all the installation is done, you’ll find a new link in your desktop to open BC:

As may know, the only you need to do is type the user and password you set at the very begining of this process.
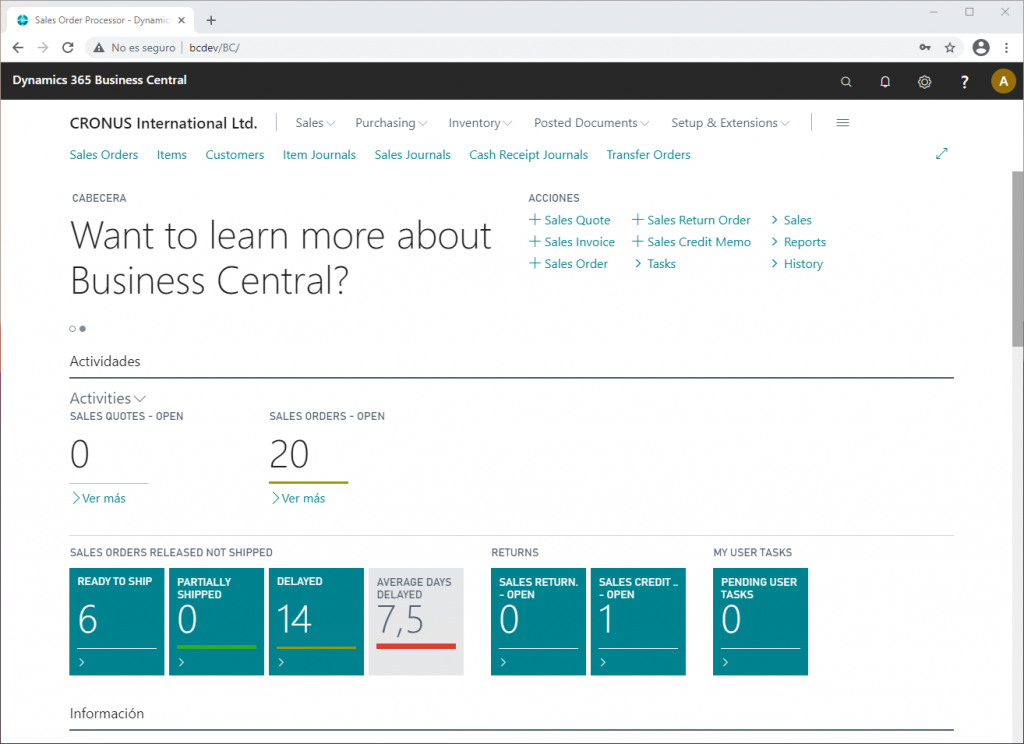
If all goes fine, you’ll see your brand new BC dashboard:
Bonus track: Avoid the image to start automatically
I believe you’ll use your PC for many other things so may not be interested on load the BC image in the backgound everytime you sign in to you PC.
If you want to tell Docker not to start the BC image everytime windows start, you can use the next command:
docker update --restart=no BCDEVTambién puedes encontrar este post en español.

1 comment